Adding custom fonts to your flutter app is really simple and one thing that every developer should be taking advantage of.
First we need to download the font we would like to use. I will be getting the SourceSansPro font from fonts.google.com. After its downloaded we will open the zip file and extract the .ttf we need (in my case ill use -Regular).
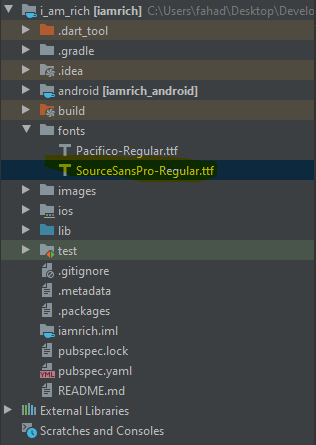
After we have the font downloaded we need to move the .ttf file into our project. I created a fonts folder to keep all my fonts in.
To use it in Flutter we need to first import it in the pubspec.yaml file. You need to be careful of the spacing, since .yaml files are dependent on that. For the family tag you can put the name of the font (it can be anything but putting something meaningful helps keep things organized). Under fonts we need to specify the link to the font asset.
|
|
Now that we have all the setup complete, we just need to use it. To do that we need to set the fontFamily to the family that we specified in the pubspec.yaml file. The fontFamily is available under the style option in Text.
|
|